How to Make Affordable Product Labels: A Step-by-Step Guide
Creating affordable product labels, asset tags, and equipment labels is important for every business. These labels help with branding, keeping things organized, and managing your equipment. To create labels that look good and work well, this guide is for you.
Labels should be both affordable and professional. Whether you are making labels for products, tracking tools, or marking office equipment, we can help you create labels that meet your needs. Follow these steps to start!
Step 1: Know the Purpose of Your Product Label
Before designing your label, ask yourself why you need it. Is the label for branding, packaging, or asset tracking? Knowing why you need the label will help you pick the right design and materials.
Labels can serve many purposes, such as:
- Branding your products: Show off your logo and brand colors.
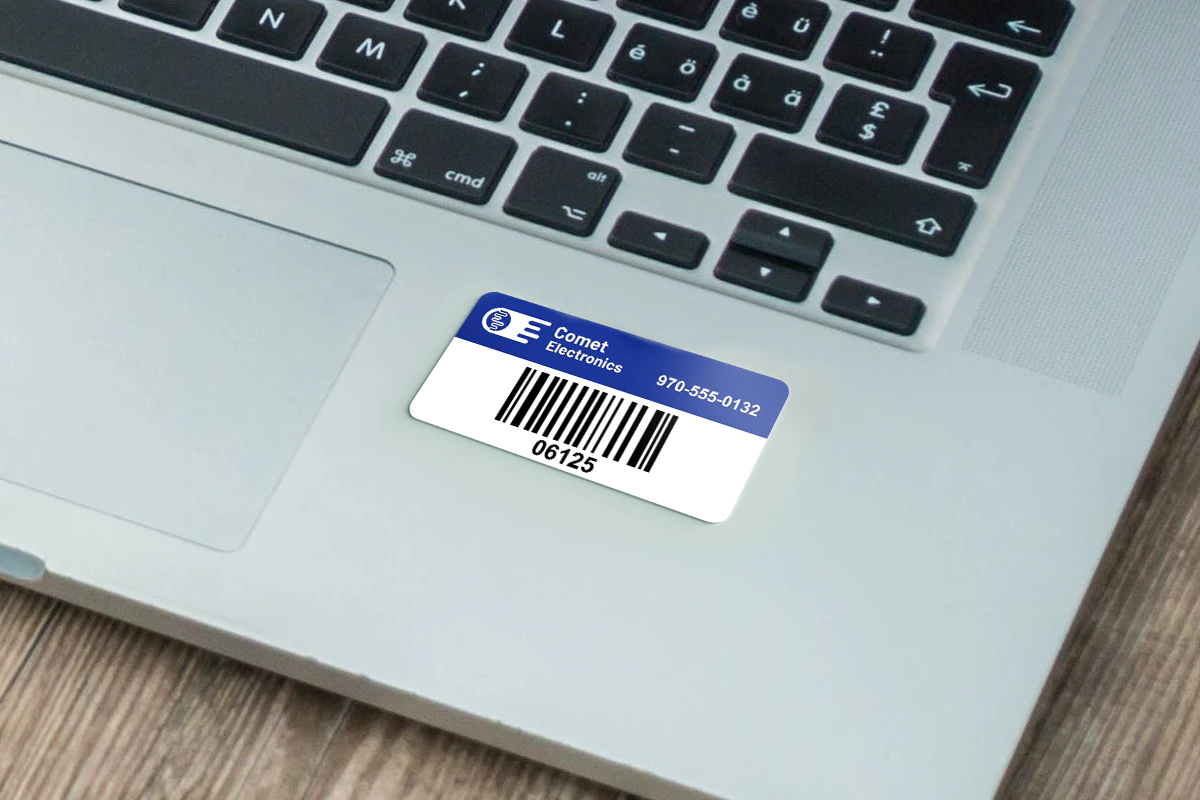
- Asset tags for equipment and tools: Keep track of your valuable items.
- Organizing items: Label office supplies or personal belongings.
- Event promotion and gifts: Create custom labels for events or giveaways.
Make sure you clearly know what you want from your labels before you start designing them.
Step 2: Choose the Right Material for Your Label
The material of your label is important. It affects how long your label lasts and how it looks.
Select a material that suits the environment where you will use it. For example, will your label be indoors or outdoors? Will it need to last in tough conditions like heat or moisture?
Here are some common label materials:
- Polyester: This is a durable and water-resistant material. Great for both product labels and equipment labels that might get wet or dirty.
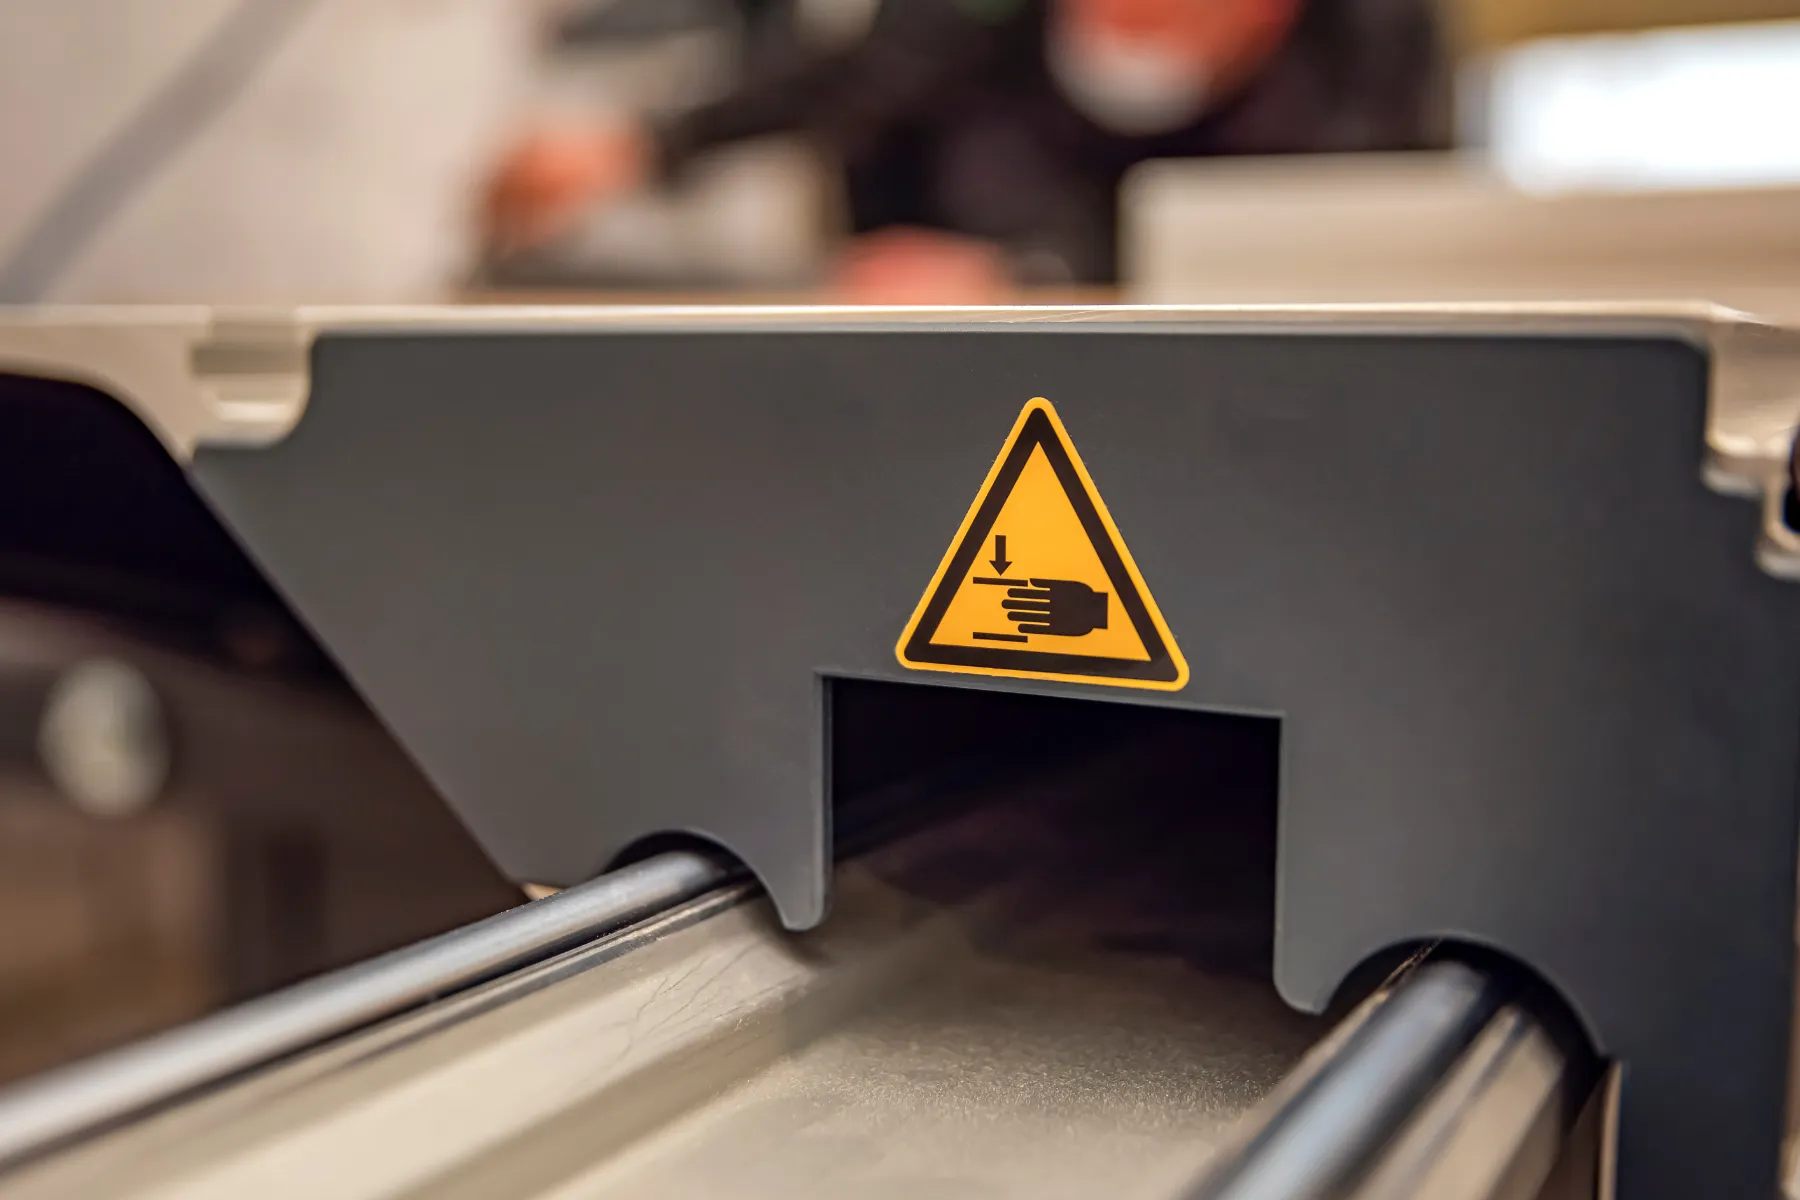
- Anodized aluminum: This is a strong material used for asset tags. It can handle conditions like extreme temperatures or chemicals.
- Vinyl: Vinyl labels are waterproof and sunproof. These labels work perfectly for outdoor use or any situations where they face the elements.
Choosing the right material helps make sure your label stays looking good and lasts as long as you need.
Step 3: Pick the Right Size and Shape
The size and shape of your label matter, too. The right size makes your label easy to read, while the right shape can help it stand out. For an easy and affordable label, choose standard shapes like squares, circles, or rectangles. These are cheaper to print.
For something unique, consider custom shapes. A custom-shaped label can grab attention or fit a specific item better.
Here are some label shape options:
- Roll labels: If you need a large quantity of labels, roll labels are the best choice. They are easy to apply quickly and are ideal for bigger orders.
- Custom shapes: Make your labels stand out by choosing a custom shape. This can enhance your brand or ensure your labels fit special equipment perfectly.
Picking the right size and shape helps your label look great and work for your specific need.
Step 4: Design Your Product Label
Designing your product label is one of the most important parts of the process. A well-designed label catches attention and communicates your brand clearly. For branding, a clean and professional design helps people remember your product. For asset tags or equipment labels, the design needs to be easy to read and useful.
Here are some label design tips:
- Brand colors: Stick to your brand’s color palette to keep your labels consistent with your overall look.
- Logo placement: Make sure your logo is visible and placed where it stands out.
- Easy-to-read fonts: Choose fonts that are simple to read. If people can’t read your label easily, they might ignore your product.
- Images and icons: If you’re making custom product labels, high-quality images can make your label pop. For asset tags, you might want to use icons to show important information quickly.
To get high-quality results, you can use professional design software like Adobe Illustrator or Canva. These tools help anyone create their own label design easily.
If you’re looking for more in-depth design strategies, check out our blog on Effective Product Label Design.
Step 5: Add Important Information
Now that your label looks good, it’s time to add the important information. Depending on the purpose of your label, the information you add will vary. For product labels, you’ll want to include details like the product name, ingredients, or size. For asset tags or equipment labels, include serial numbers, barcodes, and maintenance information.
Here’s what to include on your labels:
- Product name: Clearly state the name of your product.
- Brand logo: Make sure your logo is easy to see and well-placed.
- Details: For product labels, this might include the weight, size, or ingredients. For asset tags, add barcodes or QR codes that help track the item.
Adding the right information will help your labels serve their purpose—whether for product packaging or tracking equipment.
Step 6: Choose the Right Printing Method
Once your design is ready, it’s time to print your labels. Choosing the right label printing method depends on how many labels you need and your budget. Some printing methods are better for small runs, while others are great for large quantities.
Here are some affordable printing methods:
- Digital printing: This is perfect for small runs and labels with a lot of colors. Ideal for both custom product labels and asset tags.
- Flexographic printing: This method works better for larger orders and simpler designs. A great choice for businesses that need a lot of roll labels or equipment labels at once.
Make sure your design is print-ready by saving it in the right format. Common formats include .ai, .eps,.svg, or .pdf. This ensures high-quality results when you print your labels.
Step 7: Order Your Labels
Once you finalize your label design and get it ready for printing, it’s time to place your order. If you need a large number of labels, buying in bulk can save you money.
Affordable Product Labels FAQs
How can I make my product labels stand out?
To make your product labels stand out, focus on a simple design that’s bold and easy to read. Use custom shapes, bright colors, and a clear logo to ensure people notice your product. Make sure the label reflects your brand identity and is easy for customers to recognize.
How do I choose the right size for product labels and asset tags?
The right size depends on what you’re labeling. For product labels, make sure the size fits your packaging without overwhelming the product. For asset tags, choose a size that fits the surface area of the equipment. The label size should be large enough to be easily visible and scanned.
Can I customize my asset tags and equipment labels?
Yes, you can fully customize asset tags and equipment labels. Add your company logo, barcodes, QR codes, or serial numbers to help with tracking. Customization ensures your labels meet your needs and keep your branding consistent.
How do asset tags help with equipment management?
Asset tags help businesses keep track of valuable equipment. By adding barcodes or QR codes to your tags, you can easily scan and track items. This system helps monitor the equipment’s location, maintenance schedules, and usage history. Asset tags reduce losses and improve efficiency by helping you manage your resources better.
By following these steps, you can make affordable product labels, asset tags, and equipment labels. These labels will be effective and easy on your budget. These labels will help your business stay organized, manage equipment better, and improve your branding efforts.


