Our strong adhesive stickers stick to steel very well—if the surface is clean, dry, and the right adhesive is used. Steel is a high-energy surface, which makes it ideal for bonding, but if there’s rust, oil, cold, or the wrong type of sticker involved, even strong adhesives can peel or fall off.
The key is matching the label material, adhesive type, and surface prep to the conditions in which the sticker will live.

What Makes Steel Good for Adhesion
Steel has high surface energy, meaning adhesives naturally want to bond to it. This gives you a head start compared to plastics or painted surfaces.
Here’s what can prevent a sticker from sticking to steel:
- Residue from oil or manufacturing lubricants
- Dirt, moisture, or rust
- Low temperatures at the time of application
- Poor surface contact (bumpy or uneven areas)
- Using a label with the wrong adhesive or material
A clean, smooth piece of steel is ideal. But out in the field, that’s not always what you’re working with.
How to Make Sure a Sticker Stays on Steel
Getting it right takes more than just pressing a label down. Here’s what works:
1. Clean the surface first
Wipe with 70–90% isopropyl alcohol to remove oil, dust, or protective coatings. Let it dry fully.
2. Apply in the right temperature
Adhesives activate best around 65–85°F. Below 50°F, many won’t bond well. Above 100°F, tack can become soft or unstable.
3. Use pressure during application
Firm pressure helps wet the adhesive into the surface for a better grip.
4. Choose the right label
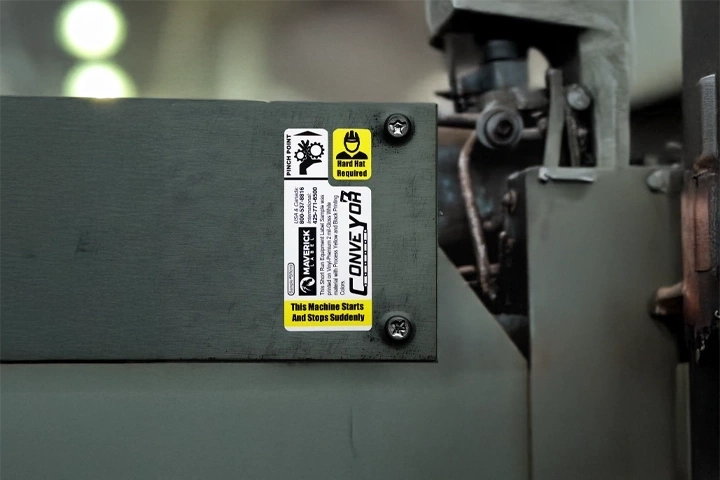
Steel requires a high-tack adhesive and a label material that holds up to its environment. Paper won’t cut it if there’s heat, moisture, or abrasion.
Sticker Materials That Stick to Steel Long-Term
| Material | Best Use Cases |
|---|---|
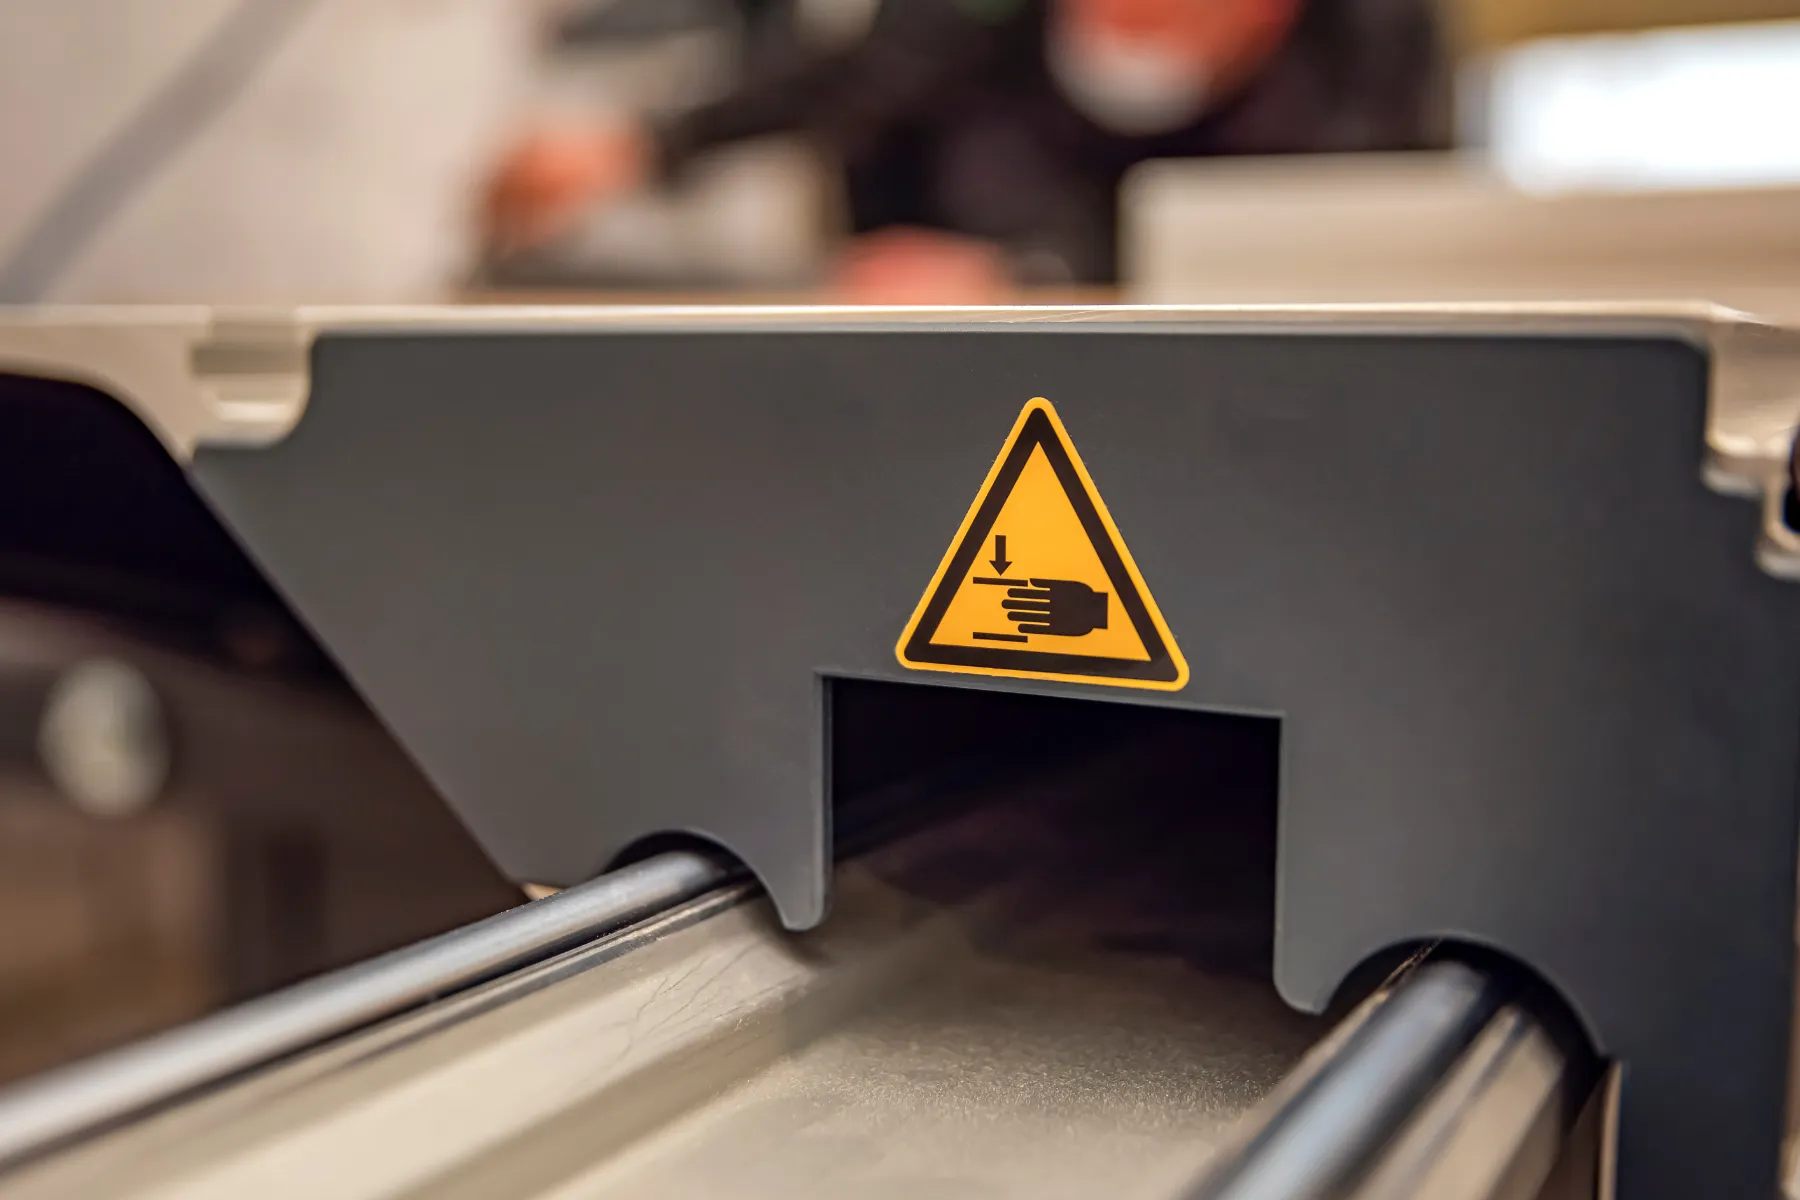
| Polyester | Clean steel indoors/outdoors, machines, panels |
| Vinyl | Slight curves, limited exposure to chemicals |
| Polypropylene | Short-term industrial, cost-effective options |
| Anodized Aluminum | Permanent ID plates, outdoor rated, tamper-resistant |
Adhesives should be acrylic-based (for permanence and durability) or rubber-based (for instant tack in less critical conditions).
When Stickers Fail:
A warehouse team labeled steel cabinets using standard paper office labels. Within two weeks, over half had curled off, especially near humidifiers and vents.
They upgraded to polyester labels with a high-tack acrylic adhesive and wiped each surface with alcohol before relabeling. After three months, all stickers were still attached—clear, scannable, and unaffected by humidity or dust.
Common Situations Where Sticker Failure Happens
| Scenario | Why It Fails | Fix That Works |
|---|---|---|
| Cold warehouse or outdoor install | Adhesive doesn’t activate fully | Warm surface first or use cold-temp adhesive |
| Oily equipment or toolboxes | Oil blocks adhesive contact | Clean with solvent before labeling |
| Rough or rusted steel surface | Low surface contact | Sand smooth and clean first |
| Stickers applied in humid areas | Moisture under label weakens bond | Apply when surface is dry and warm |
Applying Labels to Steel in Your Operation?
If you’re trying to get reliable, long-term adhesion to steel—whether it’s in a warehouse, shop, or field site—the right combination of prep, adhesive, and label material makes all the difference. Teams that use strong adhesive stickers made for steel, heat, and rough handling see better performance and fewer failures.
Sticker Adhesion to Steel FAQs
No. Stickers with weak adhesives or paper faces often fail. Use polyester or vinyl labels with high-tack adhesive for strong, lasting results.
Yes. Oil, rust, and dust all weaken adhesion. Wipe surfaces with isopropyl alcohol and let them dry before labeling.
Acrylic adhesives are best for long-term use. Rubber adhesives work for fast, short-term adhesion in clean conditions.
Yes, but test first. Some coatings lower surface energy. Rough or glossy paints may require stronger adhesive backing.
Ideally between 65–85°F. Below 50°F, use labels rated for cold application or warm the surface first.
Use a label with the right adhesive, prep the surface correctly, apply with pressure, and let it cure for 24–48 hours before heavy use.
Yes, the right stickers can securely stick to steel mags (steel magazines or steel magazine racks). But not all stickers are created equal. For strong, long-lasting adhesion to steel, you need:
High-tack adhesive: Bonds firmly to smooth, painted, or powder-coated steel.
Durable material: Polyester or vinyl stickers resist peeling, moisture, and abrasion.
Temperature resistance: Stays stuck even in cold storage or high heat.
👉 Tip: For steel mags in rough or outdoor use, choose industrial-grade asset tags or equipment labels designed for metal surfaces.