Start here: assign every marketing item a unique ID, apply a durable label with a scannable QR code, and log each item in a shared spreadsheet or lightweight inventory system. That’s your foundation. From there, you can track, recover, and manage everything from demo kits to pop-up signage—without guesswork.
Below, we’ll walk through how to build a simple but effective marketing asset tagging system that works in real-world conditions. No software overhaul, no sales pitch—just the setup that helps you keep assets moving without losing time (or gear).
Step 1: Inventory the Items You Use Most
You don’t need to tag everything. Start with assets that are expensive, shared, or travel often.
Common examples:
- Trade show booths and pop-up displays
- Tablets, monitors, or demo units
- Lightboxes, AV gear, or backdrops
- Field marketing kits (branded tables, signage, devices)
- Shipping containers or storage crates
Create a simple spreadsheet or use your existing project tracker to start listing what’s active, in storage, or needs tagging.
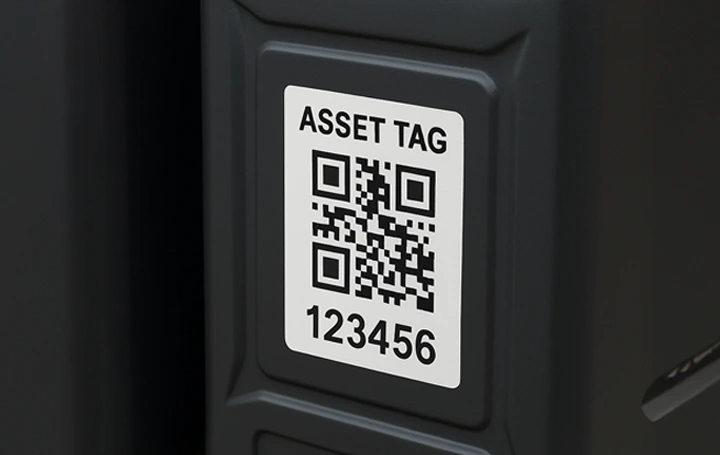
Step 2: Create Unique Identifiers
Give each item a unique asset ID. This can be as simple as:
- MTK-001 = Marketing Kit 1
- DSK-2023-07 = Demo Screen Kit July 2023
- TRD-10 = Tradeshow Display #10
Avoid vague names like “Tablet A” or “Banner 2.” A strong ID system will save time later when things move fast.
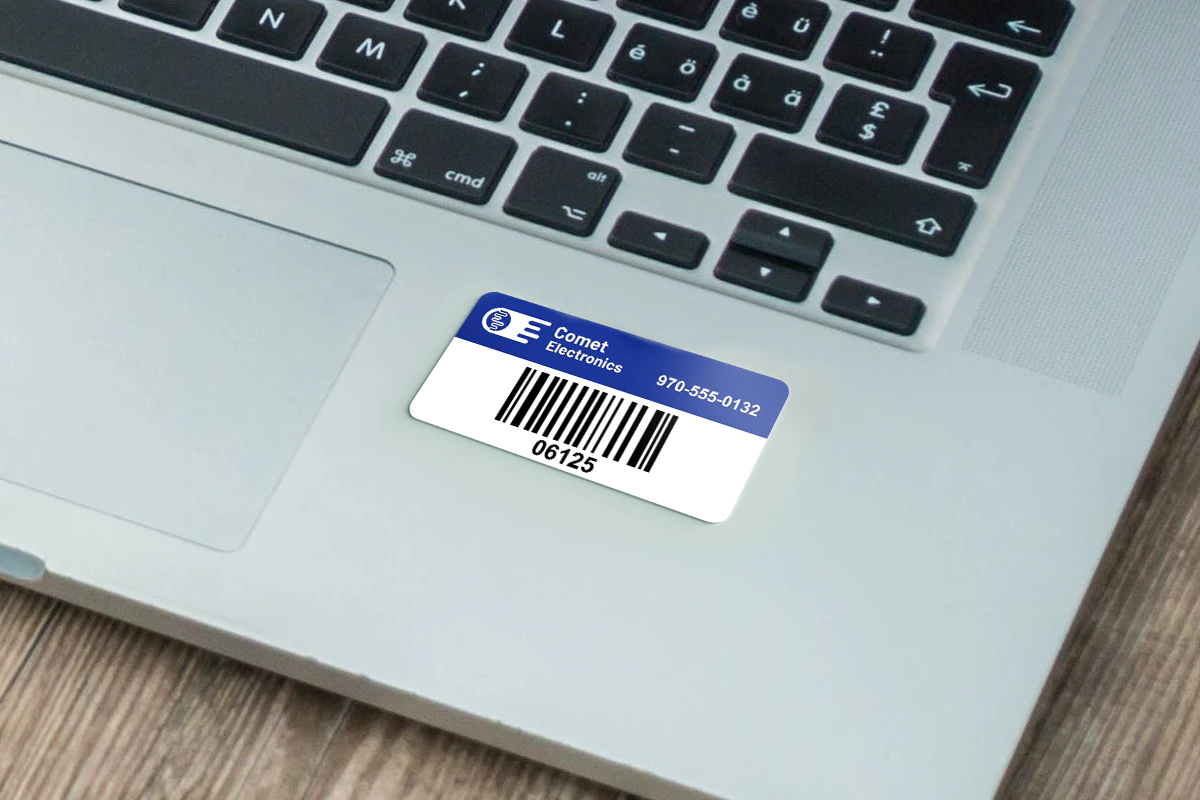
Step 3: Design and Apply Your Labels
Your tags need to survive transport, handling, and repacking. That means durable label materials, adhesive that sticks, and layouts that stay readable.
| Element | Details |
|---|---|
| Asset ID | Clearly visible |
| QR code | QR code: links to setup guide, checklist, or return info |
| Campaign, department, or location code | Corresponding information Optional: contact name or recovery instructions |
Tip: Apply labels on a flat, protected area—inside a lid, back panel, or side surface that won’t rub off during use.
Step 4: Link Each Tag to Something Useful
QR codes shouldn’t go to nowhere. They should lead to:
- Setup instructions or checklists (PDF, Google Doc, Dropbox)
- A simple form for check-in/check-out
- A photo gallery of the kit contents
- A shared inventory sheet
Avoid dead links or locked-down files. If field reps can’t scan and get value, they’ll ignore the system.
Step 5: Track Movement and Status
You don’t need complex software. A shared Google Sheet can work:
| Asset ID | Assigned To | Event | Last Use | Condition |
|---|---|---|---|---|
| MTK–001 | Sarah, Chicago | ExpoWest | May 2024 | Good |
| TRD–010 | Unassigned | In Storage | June 2024 | Needs Repair |
This lets your team assign kits, check them in/out, flag issues, and stay organized without overthinking it.
Step 6: Train Your Team (Briefly)
No one reads manuals during a rush. Keep training short and specific. A quick walkthrough on where the tags are, how to scan them, and where the info lives is enough.
Tip:
Use screenshots or a one-pager with photos of the labeled gear and links to any related files.
Example: A regional field marketing team added a 2-minute video showing how to scan and check off kits before events. Equipment issues dropped by 60% in the first quarter after rollout.
Step 7: Handle Repairs and Rotation
Not everything comes back in perfect shape. Use your spreadsheet or QR-linked form to flag:
- Damaged cases or signage
- Missing accessories (cords, clamps, lights)
- Items needing replacement
Why it matters:
A broken light panel at one event creates delays at the next. Tracking asset condition helps you rotate gear, schedule repairs, and avoid surprises.
Step 8: Use Label Materials That Can Handle the Job
If your assets travel, labels that peel, fade, or smudge won’t last a week.
Common materials for marketing tags:
- Polyester with laminate – resists abrasion, water, and handling
- Polycarbonate – ideal for gear with textured surfaces or curved edges
- Strong adhesive + thermal transfer print – stays readable and intact
Example: How a Marketing Kit Tagging System Cut Costs
A mid-sized beverage brand supported over 30 field events monthly. Marketing materials were constantly in motion—backdrops, rolling coolers, lights, signage, tablets.
Before tagging:
- Kits were incomplete or double-shipped
- Items were returned to the wrong locations
- Over $6,000/quarter lost to misplaced gear
After tagging:
- Each kit had a laminated QR tag linking to a visual checklist
- Staff scanned before/after each event
- Missing items were flagged early
- Replacement costs dropped by 70% over two quarters
Field-Proven Tips from Marketing Teams
- Color-coded tags save sorting time:
Red = Tradeshow, Green = Retail Pop-Up, Blue = Loaner Kits - QR codes to cloud folders make life easier:
Think setup guides, booth layouts, return slips - Tag location matters:
Inside lid, behind main panel, or low-side surface to prevent scuffing - Keep the process low-friction:
No one wants an app login just to check inventory. Use open links and simple tools your team already knows.
Helpful Wrap-Up
You don’t need to overhaul your systems to build a marketing asset tagging setup that works. With the right labels, a clean spreadsheet, and a few field-friendly habits, your team can stay on track—whether you’re managing five events a year or 50.
A good label makes a difference when it’s 6am, the show opens in an hour, and someone’s trying to figure out what’s missing. Durable tags, smart IDs, and useful links take the guesswork out of gear management.
Marketing Asset Tagging FAQs
A unique ID, a QR code (optional but helpful), campaign or department code, and readable contact or return info. The tag should be easy to spot and resistant to wear.
Use labeled kits with linked spreadsheets or cloud folders. A shared doc makes it easy for field reps to check gear in and out, flag issues, and stay accountable.
Polyester or polycarbonate labels with strong adhesive and thermal print tend to hold up best. Look for materials that resist water, abrasion, and heat.
Yes. QR codes are one of the most efficient tools in a tagging system. They can link to setup instructions, packing checklists, return forms, or photo inventories.
No. Most teams start with a spreadsheet and cloud folders. If your volume grows, you can integrate asset tracking platforms later—but the basics work for most teams.