Our customer service team often receives inquiries about advanced label printing tips and tricks. Today, we’ll explain label printing terms and give tips to help you understand and improve your label printing.
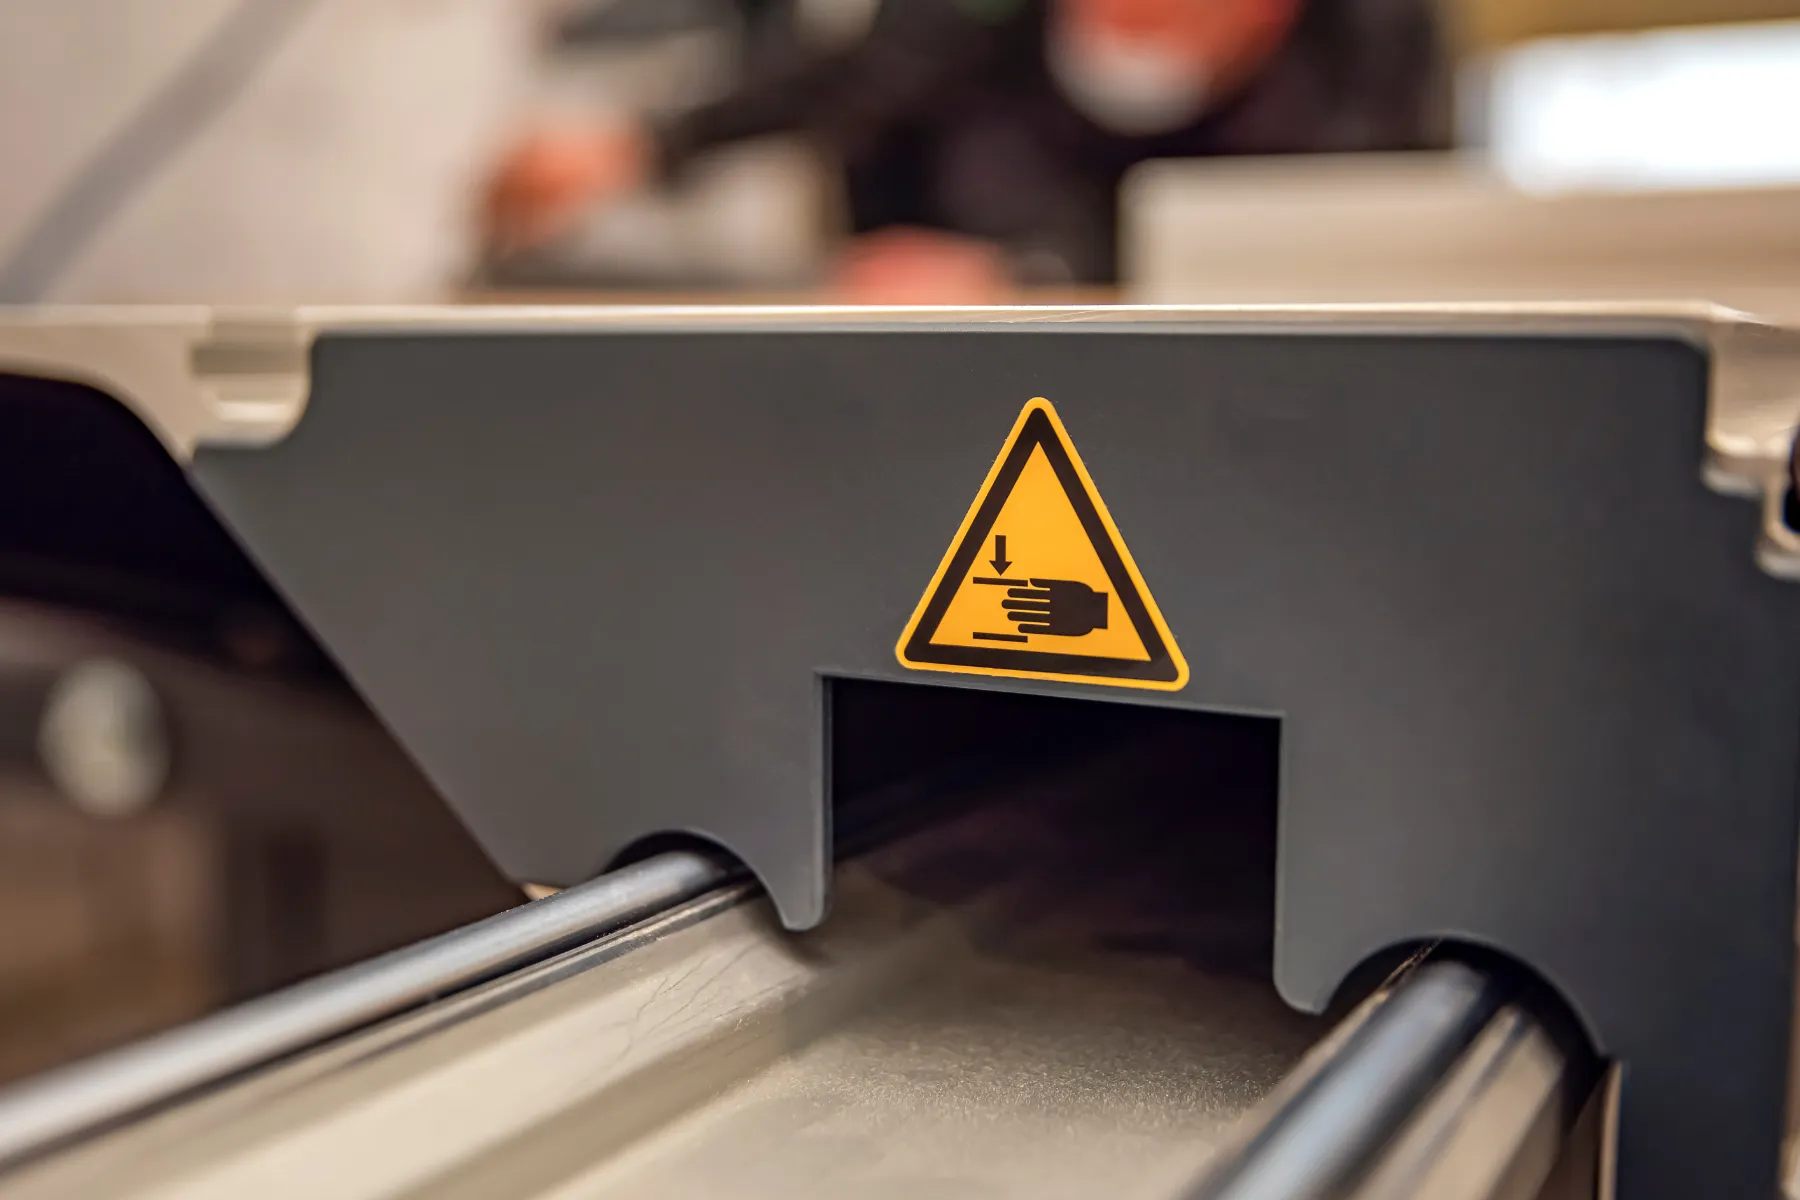
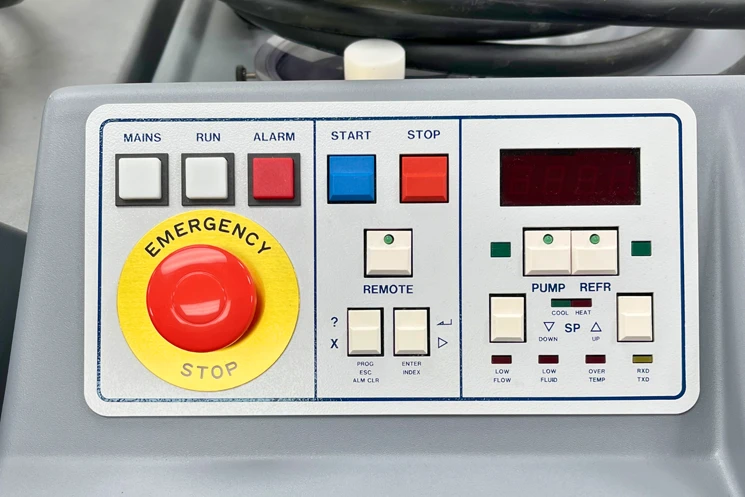
Dead Front Black Labels
When light shines through, the black labels with hidden images show, making them great for control panels and overlays with warnings.
White Backing Ink
Adding white ink to clear labels improves visibility on any product label by enhancing clarity and color.
Knockout Text
Utilize knockout text to let the surface or product color show through, especially effective against light surfaces.
Reverse Printing
Apply on the inside of glass or clear plastic windows for reading text from the opposite side.
Unveiling Hidden Images with Dead Front Black Labels
Dead front black labels initially appear solid black until illuminated, revealing hidden images. They are ideal for control panels and graphic overlays, especially for displaying warning messages. To explore this further, visit our Laminating Adhesives post for additional information about these labels and other types.
Interested in exploring dead-front black labels and similar products before making a purchase? You can obtain samples from our control panel product page by clicking the “Free Samples” button.
Enhancing Clarity and Color Tone with White Backing Ink
We often recommend adding white backing ink when ordering clear labels. To create the text or graphic, we apply a layer of white ink over the clear material before adding the content. White backing ink keeps labels clear and the same color, no matter what material they’re on.
To illustrate the difference, we conducted a simple demonstration using clear “print term” samples placed on various colored materials. Adding white ink to the labels improved their clarity and color. This demonstrates the importance of considering the background and surface during the design process.
Interested in examining samples showcasing the impact of white backing ink? Visit our process color or window decals page and click the “Free Samples” button.
Allowing Surface Color to Shine Through with Knockout Text
Knockout text occurs when text or graphics appear to cut out of a background, revealing the color underneath. This technique is particularly effective when applied to clear labels and can produce striking results, especially against light surfaces.
Ideal for Glass and Clear Plastic Windows with Reverse Printing
Reverse printing is a special method for clear labels used on the inside of glass or clear plastic windows. The label’s text may appear backward initially.
However, when you place it on a window, you can read it from the opposite side. This creates a cool and attention-grabbing effect. It looks cool and catches your attention.
Interested in exploring clear label samples featuring knockout text, reverse printing, or other characteristics? Visit our process color or window decals page and request free samples. Our demo shows a sample of “printing techniques” on clear removable material, making it easy to apply and remove.
Learn advanced label printing tips to improve the quality and visual appeal of your label designs. Understanding the unique properties of dead-front black labels is crucial. The impact of white backing ink on label clarity is significant.
The visual effects achieved through knockout text and reverse printing will enhance your label printing process. This will result in high-quality, visually appealing labels. Keep these label printing tips and tricks in mind when designing your custom labels.