Our Top Tips and Tricks to Effective Label Design
- When making a product label, it is crucial to use design software that includes a label template. Additionally, the software should allow you to save or export your artwork in formats such as EPS or PDF. We will ensure that the production details are accurate and easily shareable with professional designers or printers.
- Carefully consider the colors you use in your label design. Colors have a significant impact on consumers’ purchasing decisions. Consider the container and product color to make an attractive label that grabs your target audience’s attention.
- Understanding the meaning of colors in your target market is essential. Different colors can convey different emotions and messages. Make sure to choose colors that align with your brand and evoke the desired response from your customers.
- Research competitors’ labels and visit stores for inspiration and insights into what works in your industry. By analyzing successful label designs, you can identify trends and find ways to differentiate your product in the market.
- Decide whether you want to use spot colors or full-color printing for your labels. Spot colors limit you to a few single colors, while full-color printing allows you to blend all four main printing colors. Consider the impact and cost-effectiveness of each option for your particular label design.
- Choose fonts that add personality to your label and make it easily readable from a distance. Avoid typical system fonts and look for ones that capture the essence of your product and brand identity.
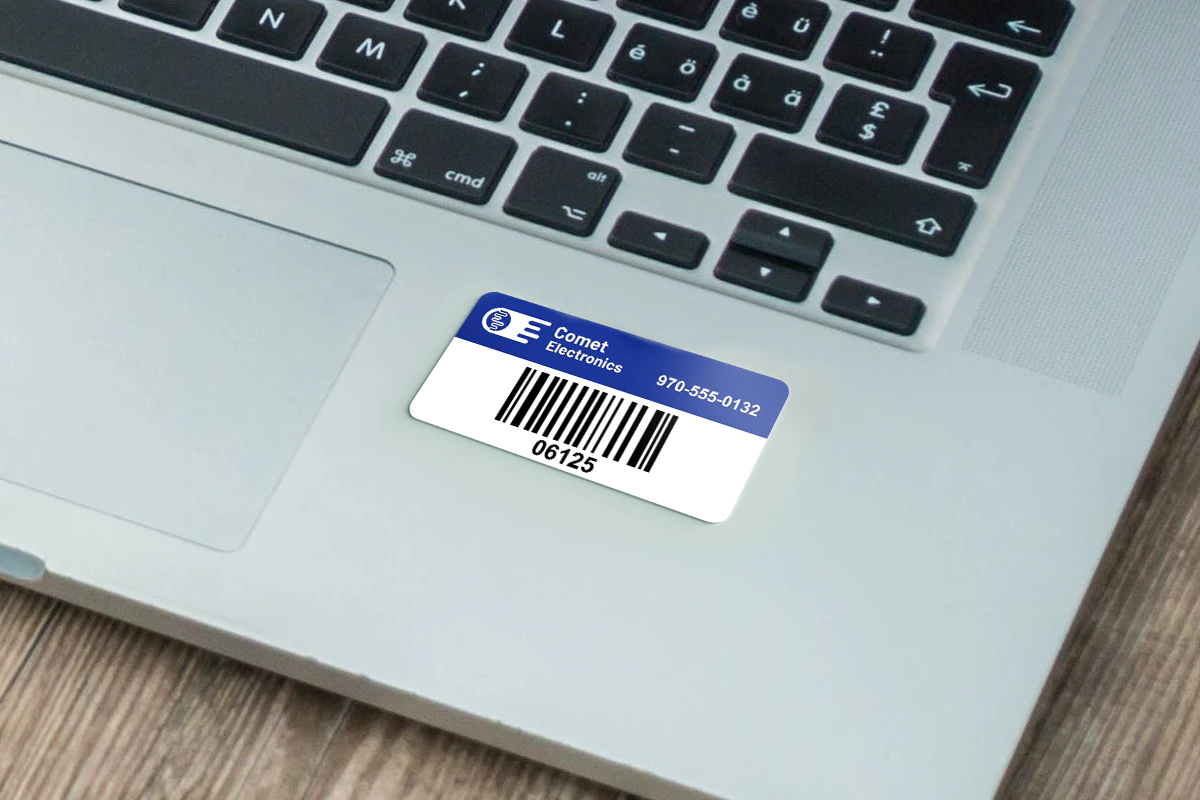
- Feature your product and/or company name prominently on the label design. This helps to create brand recognition and allows customers to easily identify your product. Stay consistent with your brand’s look and include contact information to encourage communication with customers.
- Select a label material that complements your design. Choose different materials like white, clear, colored, or textured to improve the appearance of your label.
- Incorporate professional graphics and high-quality images that draw attention to your product. You can achieve this by sourcing images online or running a design contest to explore multiple options. Make sure the graphics align with your brand and enhance the visual appeal of your label.
- Decide whether you want your label to have a bleed (artwork flowing off the edges) or no bleed (with a white border). Make sure everything fits on your label to look clean and professional.
- Consider the size and shape of your label based on your product’s container or packaging. Single labels, front and back labels, or wrap-around labels each have their benefits and cost considerations. Choose the label size and shape that best suits your product and aligns with your overall label design. Check out our post about determining the right size of your label.

By following these tips, you can create an eye-catching label that impresses customers and leaves a good first impression. Whether you design or use design software, these tips will help you create custom labels that showcase your product well.