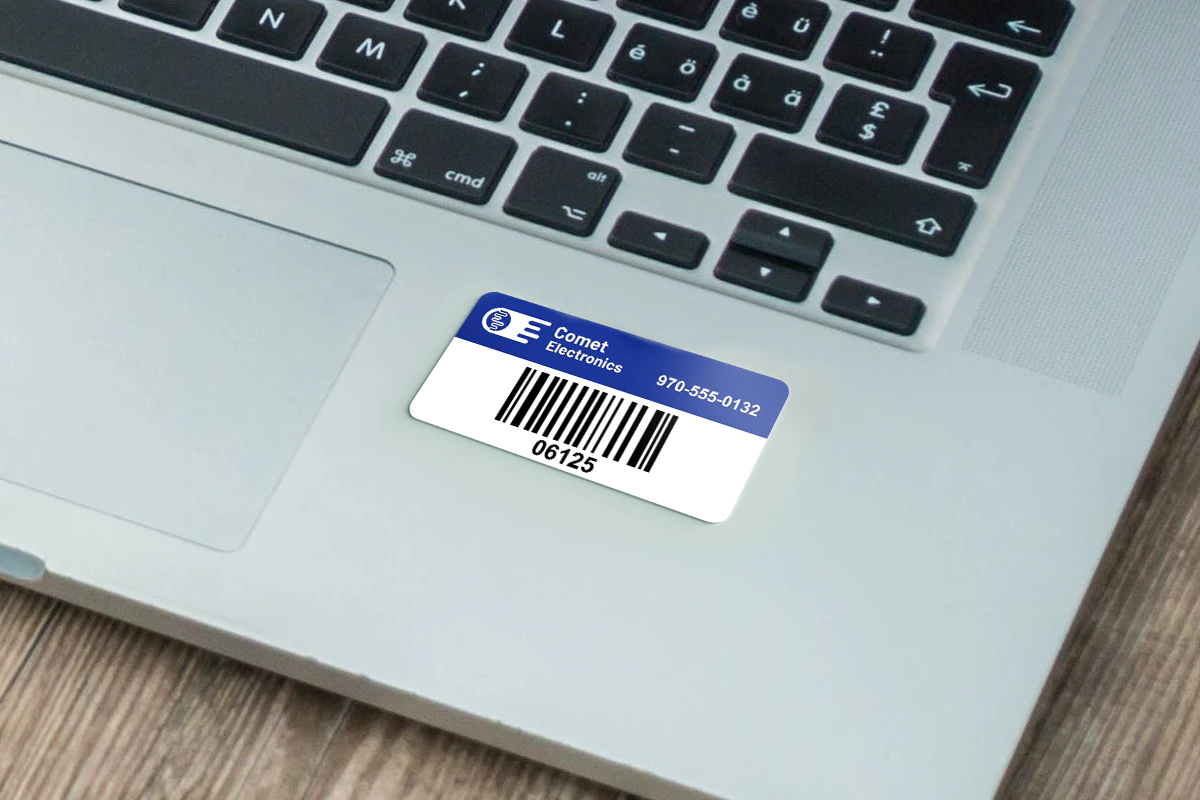
Our top tips and tricks for how to put your label on a product. Follow these guidelines for perfect label application every time.
Consider Your Surface
- Think about the surface energy of the item you plan to label.
- Low surface energy (LSE) surfaces require stronger adhesives.
- Surface texture may also affect how well a label will stick.
- Order sample labels to test adhesive strengths.
Consider the Temperature
- Apply labels at room temperature for best results.
- Consider the temperature changes in your production process.
Application Considerations
- Ensure the surface is clean and dry before applying the label.
- Special treatment may be needed for certain label materials.
Option #1 – Partial Removal of Liner
- Lift one corner of the label and gently peel back the liner.
- Line up the “tag” with your surface and press down the first edge.
- Use a scraper to ensure no bubbles form.
Option #2 – Apply a Full Label
- Carefully remove the liner from smaller labels or labels for flat surfaces.
- Position the label without the liner and press down the edges firmly.
Final Tips
- Handle labels by the edges to avoid transferring oil from your fingers.
- Let newly-labeled containers “cure” for 24-48 hours before use.
Is Placement Critical?
- For critical label placement, use polyester or vinyl labels on a damp surface.
- Dampness allows for label repositioning and bubble removal.
- The water needs extra curing time to evaporate and the adhesive needs time to set.
Other Options
- We offer reposition-able or removable labels, such as bumper stickers and window decals.
- Removable options are available for laser/inkjet labels.