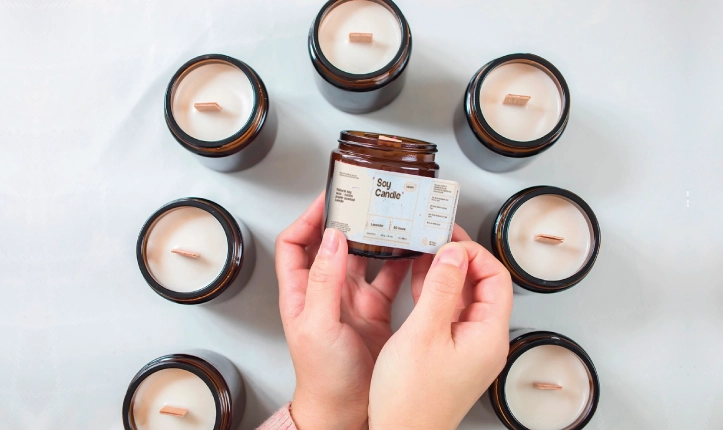
Did you know that there’s a right and a wrong way to apply labels? We’re here to give you our expert tips on perfect label application, so your labels stay looking great for years.
Tip #1 Clean Your Surface
Getting your beautiful new labels and placing them directly on your products is tempting. But did you know that even tiny amounts of dust, grease, and grime can affect how your labels look after application? A clean surface will help ensure that your labels stay put. After using a cleaner, rubbing alcohol, or vinegar, rinse with water and dry the area completely before placing it.
When applying a label by hand, remember to clean and dry your hands to prevent skin oil transfer.
Tip #2 Handle Your Label by the Edges
To ensure clarity and effectiveness, it is crucial to limit touching the adhesive on any label, especially clear ones. Touching the adhesive with oily fingers can leave fingerprints, reduce grip, and leave a sticky residue on your skin.
Tip #3 Let Your Labels “Cure”
Most adhesives take between 24-48 hours to completely cure or dry down. Once you put labels on your products, let them be so the glue can dry and stick properly. Moving the product around too much may result in your label moving or lifting, if it hasn’t had enough time to adhere.
If you ordered labels with specialty adhesives or materials, this timeframe can be longer. If you ever have any questions reach out to us and we will be happy to help you determine the proper cure time.
Tip #4 Pay Attention to Temperature
Like many of us, most labels don’t like the cold. If you apply regular labels in temperatures below 50F, they may later peel or lift. Make sure that your containers or products are at room temperature before applying them.
If you need a label that isn’t sensitive to cold temperatures, we’ve got you covered! We have materials and adhesives that can withstand both hot and cold temperatures.
Tip #5 Repositioning Your Label
This last tip is a little bit of a sneaky workaround, but extremely useful in certain situations. You can use this handy tip to position a label precisely. If you have a cumbersome label that’s difficult to put on at once, this tip can help. Please note that this tip is NOT for labels printed on paper material!
Run a slightly damp sponge over the surface or mist the area slightly, before applying the label. The moisture decreases the surface energy and allows you to slide the label around a little bit after applying. You can scrape away any excess moisture or bubbles using a scraper. We need a little extra curing time to allow the water to evaporate and the adhesive to set.
Only use this method for vinyl or polyester labels. It won’t work for paper labels, as they will become wet and fall apart.
Did you know that there are things you should consider, even before placing your order? Making sure you’re choosing the right material, adhesive, laminate, and treatments will help to ensure label longevity.
Consider Your Surface
Where will you be sticking your labels? What kind of surface is this? These are important questions to ask yourself when deciding on the right adhesives and materials.
Some surfaces are extremely slick and are harder for labels to adhere to; these require stronger adhesives. Surface texture can also affect how well a label will stick. Highly textured or slightly curved surfaces may require adhesive with additional sticking power. Our Label Experts can help you determine what the right choice is for your products.
Choosing the Right Size
You want to make sure that you are measuring your label correctly and that you have the right size for your product or application. If your label is excessively large, it will peel or buckle. If your label is too small, it will look unprofessional and may be hard for people to read.
We have tips for measuring your container to find the correct label size. If you need help, you can contact us.
What Environment Will Your Label Be In?
Considering the types of environments your products (and labels!) will be in is important. Will someone store them in an ice chest or a fridge? Maybe they will be run through the dishwasher?
Make sure the materials, adhesives, and laminates you order are suitable for the conditions your product will face.
Not Sure What You Need? Get Samples!
One of the best ways to determine what type of label you need is by getting samples. You can request product samples on our website or by emailing us. Just let us know what you need, and we’ll send them to you as soon as possible!


